¶ Concept
There are several ways for a user to be registered with the XignIn-Manager. The concepts of user onboarding will be discussed below.
¶ Via App
Users can register and activate an account directly via the XignIn-App. The qr code for the activation is also sent to the registered e-mail address.
¶ Via XignIn-Manager
Users can register with XignIn using the registration form at xign.me. When the registration is successful, an email with the activation qr code is sent to the user.
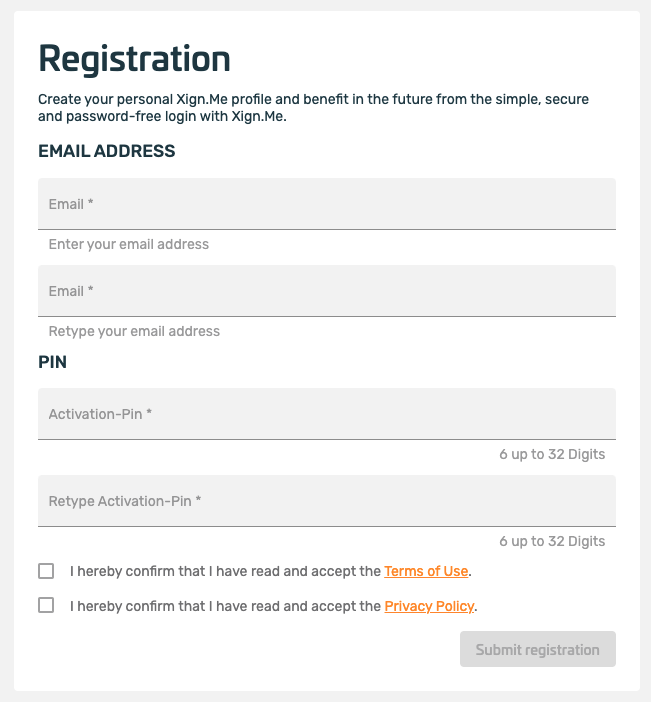
Fig. XignIn-Manager Registration Form
¶ Remote via RR API
Will be deprecated by Remote via OIDC
¶ Remote via OIDC
The user will be able to do a self-service onboarding on behalf on a requesting client. The client will send a special openid request with a prompt value of create , which triggers the onboarding process.
After completing the onboarding process the user's user agent will be redirected back to the requesting application and is subsequently logged into the application.
During the OpenId Connect request the user must perform two steps to successfully create a new XignIn account.
At first the user has to choose an activation pin OR an email address. It depends on the server and client settings which way must be performed.
An alias can optional be defined to identify the device later on (it is possible to onboard multiple devices to an existing account via the web interface later on).
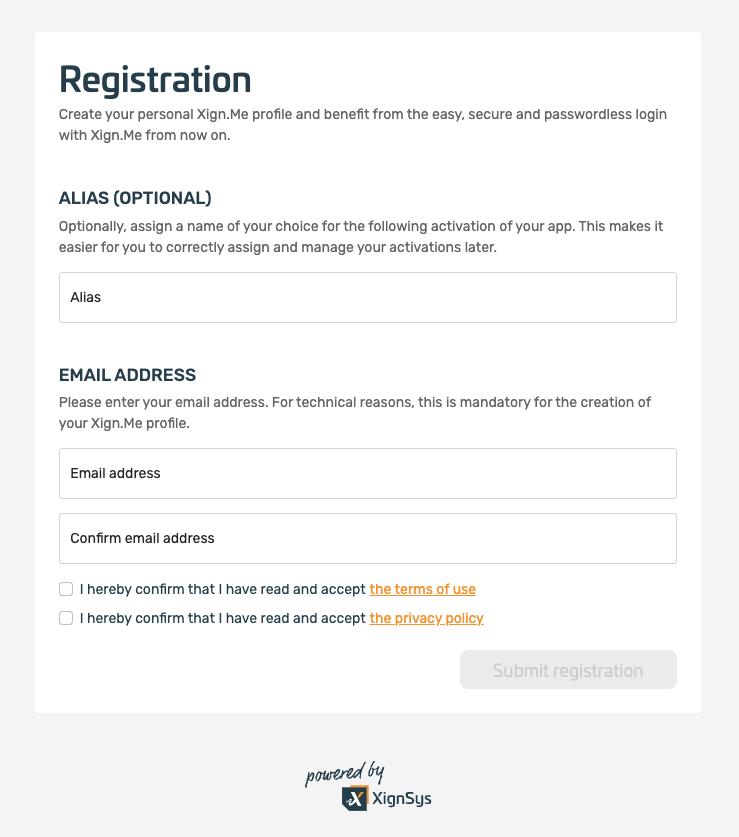
Fig. OIDC Onboarding Step 1 (E-Mail addresss required)
In the second step the XignIn-Manager provides an Activation QR-Code to create a new account. For this step an activatipn pin is required. This pin should either be added in the first step OR should be send to the given email address.
The QR-Code must be scanned with the Xign.Me app to activate this new account.
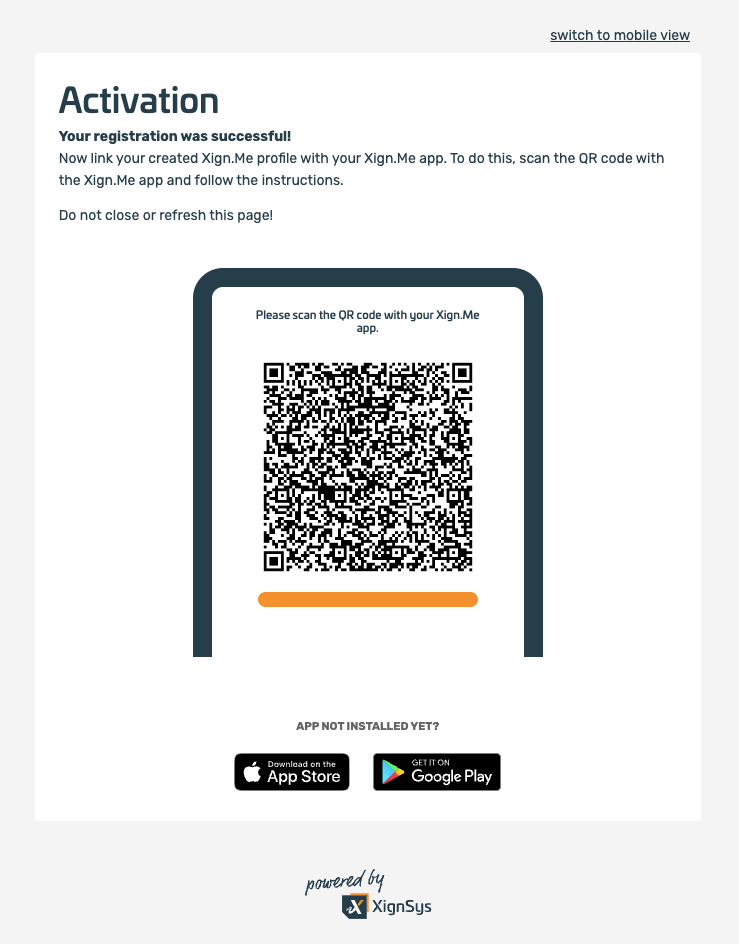
Fig. OIDC Onboarding Step 2