¶ About
Organizations are the top-level organizational structure. An organization consists of a set client, that each represent an application, that requires authentication.
¶ Create an Organization
To create an organization, login into your XignIn Profile at the corresponding XignIn-Manager and select Organizations from the sidebar.
Via the Create Organization button, a new organization can be created. You will be presented with the following popup:
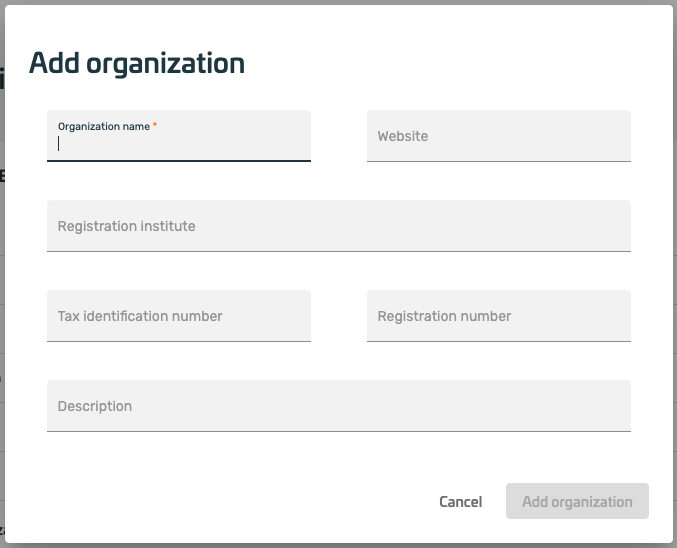
Fig. Example Add Organization
The only required input is the name of the organization
After the organization is successfully created it will appear in the list of ADMINISTRABLE ORGANIZATIONS
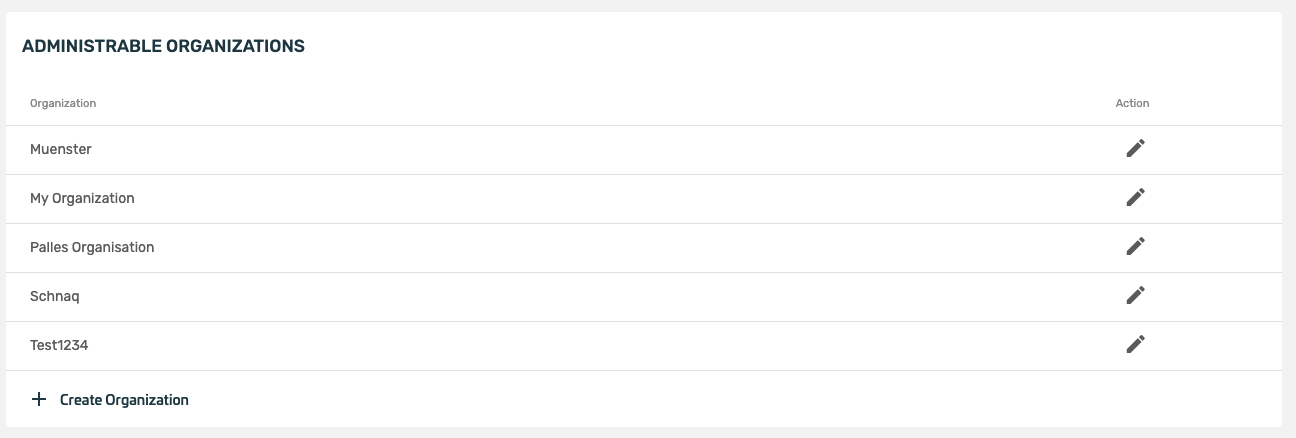
Fig. Example Administrable Organizations
¶ Users & Permissions
The Users & Permissions section lets the admin configure meberships and permissions of the users associated with the organization.

Fig. Example Organization Users & Permission
¶ Filter
Your content here
¶ Invite Users
Via Invite Users a user can be invited using the email address. If a user already has an activated XignIn account assiciated with the email address the user is invited to the client.
The user will have to actively accept the invite before he becomes a member of the organization
If there is no account associated with the account, the user will receive an email which can be used to activate the user's smartphone.
The invitation will be automatically accepted when activating the smartphone
If a user is invited to the organization, it does mean that the user is able to authenticate to each and every client. Access to clients can be further restricted via the client settings, by requiring a invitiation to a specific client
¶ Permissions
Permission lets the admin configure which actions can be performed by a user in this organization. The permissions cover following categories:
- organization user management (invite/remove users)
- permission assignment
- organization management
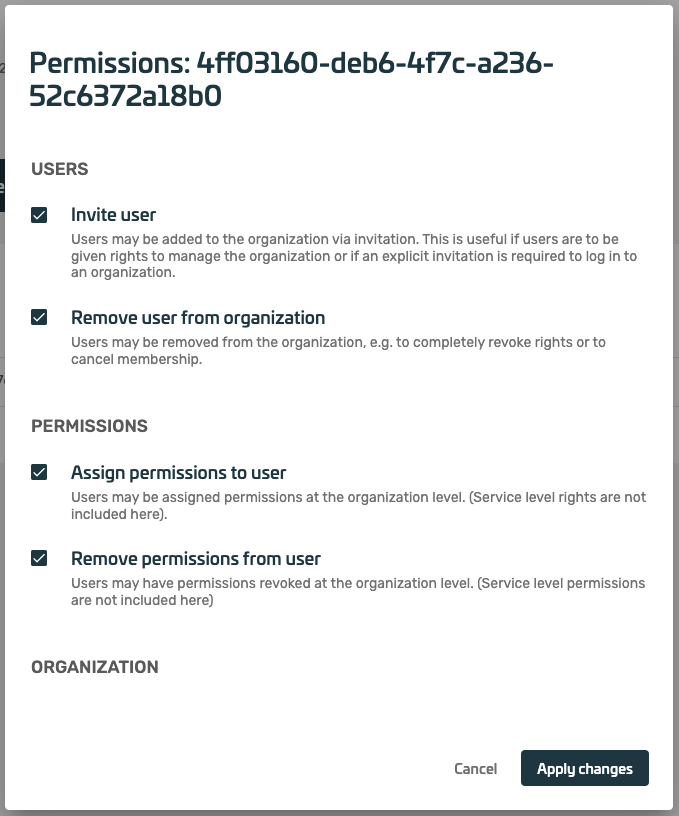
Fig. Example Edit Permissions Dialog
¶ Remove Users
Users can be individually removed from an organization.
Note that the user's account will not be deleted
¶ Settings
Lets the admin configure some basic settings.
¶ Information
Basic information about the organization, e.g. name, website
¶ Addresses
The company addresses. Available types of addresses are:
- main address
- delivery address
- billing address
- secondary address
- vacation address
Note that none of the information is required but the name of the organization. The provided information will not be verified yet.
¶ Delete Organization
Your content here
¶ Add Services
By clicking the edit button of an organization in the Administrable Organizations list a list of all configured services is provided.
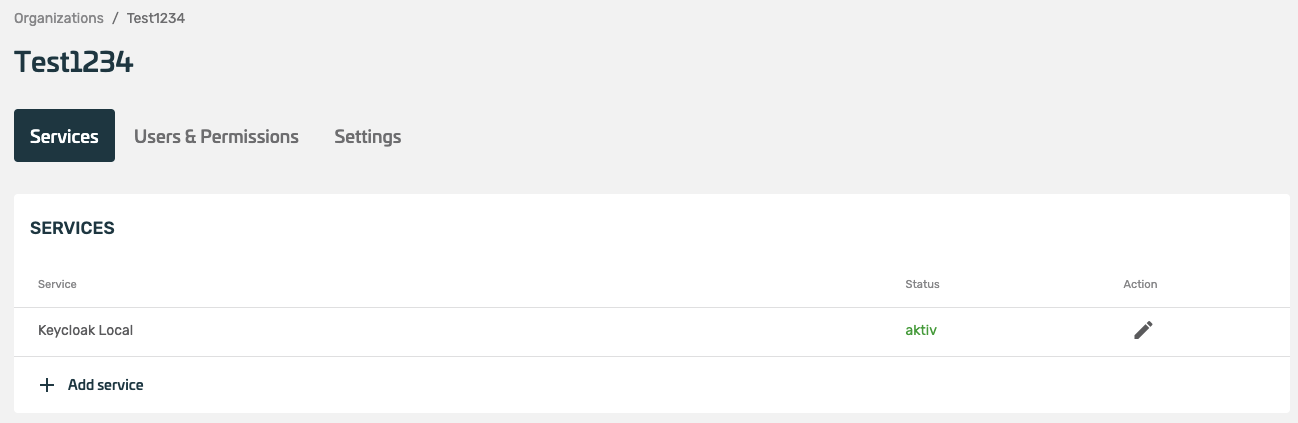
Fig. Example Services List
By clicking Add Service a dialog will appear in which some mandatory information about the serivce has to be provided.
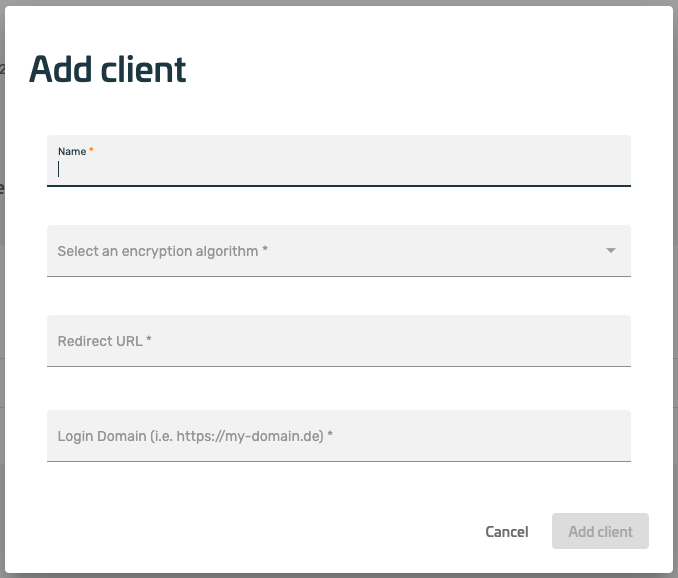
Fig. ExampleAdd Client Dialog
- name of the service
- encryption and signature algorithm
- the redirect uri
- and the domain/origin from which the qr code will be requested
After the client is successfully created it will appear in the Services* list